Roof insulation is one of the most effective ways to save energy and create a comfortable living environment in buildings. A leading brand in the field, İzocam stands out with its high-performance roof insulation products. So, how is Izocam installed on a roof, and what are the advantages of such an application? Here are the details…
First, what type of a roof do you have? Is it a terrace roof or a sloped roof? Traditional buildings had hipped roofs with spacious attics. Today, however, every square meter matters as the population grows, particularly in big cities, leading to the functional use of attic spaces. Since the insulation process differs based on the roof structure, you can follow the specific steps that match your roof type.
Hipped Roofs
a. Hipped roofs with unused attics
b. Hipped roofs with habitable attics
Terrace Roofs
Insulating a roof with İzocam products yields highly efficient results when paired with the correct material selection and proper application steps. The insulation process typically comprises the following stages:
Before starting the application, make sure the roof surface is clean, dry, and smooth. Any old insulation materials, dust, or debris should be completely removed from the surface.
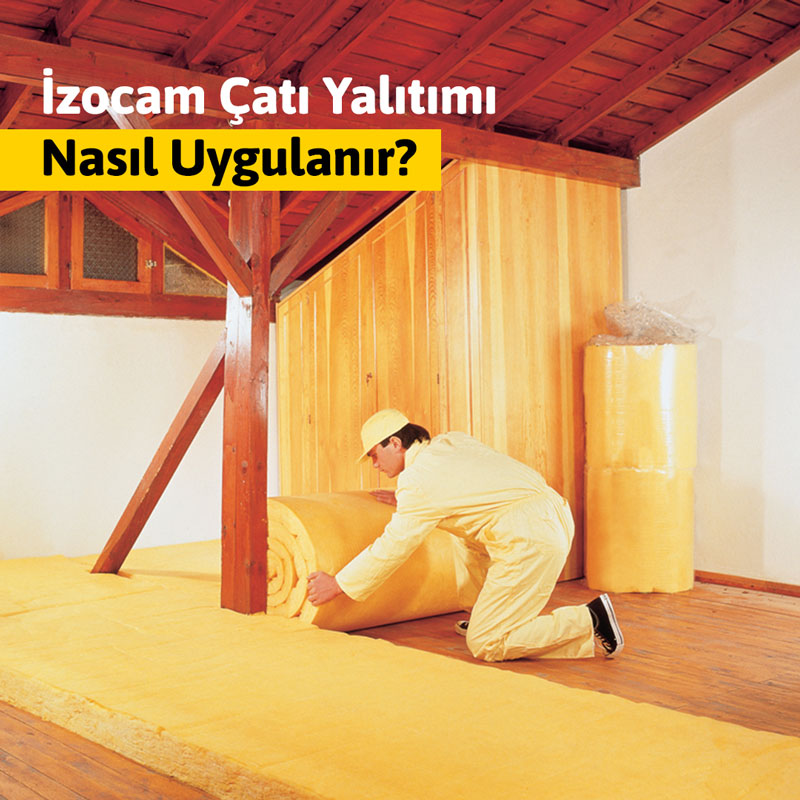
Remove İzocam glass wool blankets from their packaging and unroll them like a carpet, ensuring that they cover the entire roof surface. If gaps occur between segments, at turns, or in corners due to the specific shape of the roof, these areas must be filled with the same material to prevent thermal bridges.
Glass wool roof blankets should never be stepped on or walked on. That means that, to allow access from the attic to the roof exterior, you must construct walkways. These walkways can be created by placing slats over 10 × 10 ×10 cm wooden blocks, forming a path that leads across the insulated area to the roof.
 Hipped Roofs with Habitable Attics
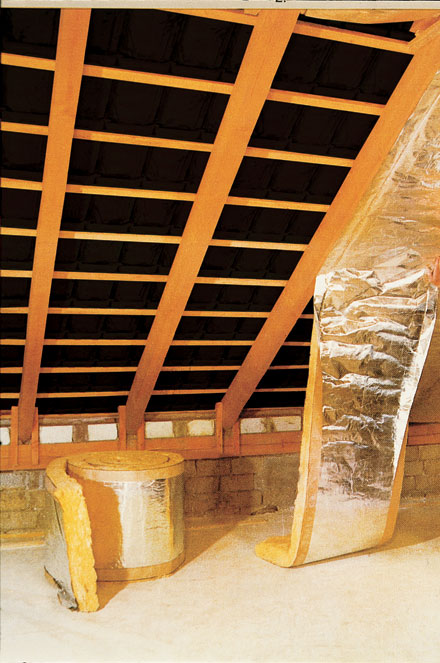
If the attic space is intended for use, the insulation application and material choices will vary depending on whether the structure is a reinforced concrete slab or constructed with wooden or metal rafters. If you have a traditional roof composed of wooden rafters covered with tiles or similar materials, you can proceed with the installation using the following steps:
Make sure your roof is properly sealed against external factors such as wind and rain, and that the tiles and under-tile membranes are intact and continuous.
Prepare the İzocam glass wool blankets with aluminum foil on one side for installation by measuring the distance between your rafters. For example, if there is a 50 cm gap between rafters, the glass wool blanket should be cut to a width of 60 cm. The foil should then be cut to 60 cm, with 5-cm extensions on each side, while the insulation material itself should be cut to a width of 50 cm. Place the blanket with the aluminum foil side facing the interior of the building, toward the usable space. The remaining 5-cm margins on the edges are then stapled or nailed directly to the rafter faces. If you are not using a foil-faced product, an additional vapor barrier must be installed.
Once the insulation materials are in place, finish with a material of your choice, such as drywall or wood panelling.
Before starting the application, make sure the roof surface is clean, dry, and smooth. Any old insulation materials, dust, or debris should be completely removed from the surface.
Lay bituminous membranes, PVC, TPO, or similar coverings continuously over the existing sloped concrete, with at least 10 cm overlaps at the joints to form a water and vapor insulation layer.
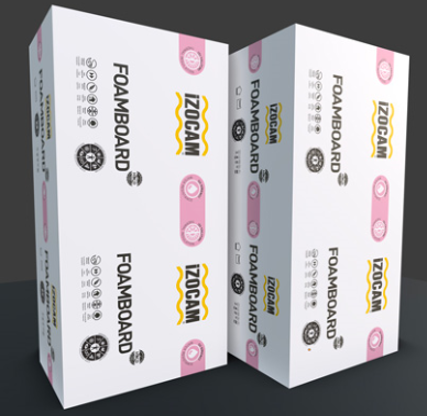
Arrange İzocam Foamboard boards without any gaps and without using adhesives.
If the rooftop will not be used: Lay a cover material on the insulation boards to serve as a filter layer or separator felt. Finally, place light-colored, rounded, washed gravel on top to secure the layers and help reflect sunlight.
If the rooftop is to be used: Lay a cover material on the insulation boards to serve as a filter layer or separator felt. On top of this layer, you can either install a raised floor supported by plastic pedestals or pour a sand-and-cement screed to prepare the surface for ceramic tiling.
Roof insulation using İzocam products not only saves energy but also improves the quality of living.
Can I install İzocam roof insulation myself?
For sloped or difficult-to-access roofs, seeking professional assistance is the safer and more efficient choice. But for flat roofs, users with basic technical knowledge can apply the products by strictly following the manufacturer’s guidelines.
Which İzocam product is best for roofs?
Glass wool, stone wool, and extruded polystyrene (İzocam foamboard) are the most popular choices for roof insulation. You must choose the correct product for the specific roof type (sloped or flat) and intended use.
Is İzocam insulation only meant for thermal control?
No, heat insulation is just the beginning. Izocam products provide a range of benefits including sound insulation, fire safety, and condensation control.


